The more custom your product packaging, the better it’s going to be received by people, and the better it’ll look. Sometimes, the best thing you can do is create custom boxes with a logo and start packaging your product.
Are you interested in the process it takes to create custom packaging? If so, check out our brief guide below for the information you’ve been searching for. Understanding how are custom boxes made will make it easier as you undergo the process for your business.
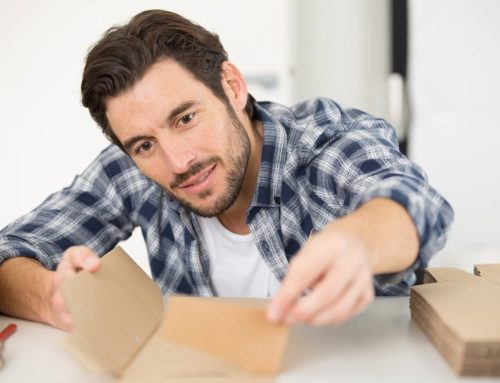
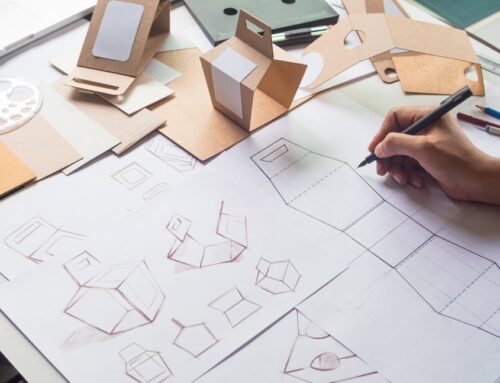
Prepare the Artwork
The first step is to prepare the artwork you’ll want to use on the packaging, whether that’s a logo or some other image. If you don’t have all the necessary tools, you might want to utilize a 3D box designer for your custom boxes.
Keep in mind there are certain suggestions that’ll help you maintain industry standards when it comes to the text and line art used for your boxes. If you don’t follow the recommendations, you could end up having boxes printed that don’t meet your expectations when they’re finished.
For example, it’s standard not to place images past the dielines. The reason is that when the boxes reach the printer, anything that extends past the dielines won’t make it onto the packaging, which means it won’t look the way you want it to.
Proof Your Work
Before sending your artwork to the printer to be fulfilled, you need to review your artwork. This will reduce the chances of not only being unhappy with your results, but also being upset about the wasted money you put into having your boxes printed.
For instance, if you’re sending multiple image files, ensure you embed the images into a document or send links to the images to your fulfillment center. This will make it easier for them to be found during the printing process.
If you think you’ve already checked your artwork, it’s best if you recheck it. Consider the size of the boxes and how large the artwork will be when printed on them.
It’s also best if you triple-check your spelling and grammar before sending it to the printer.
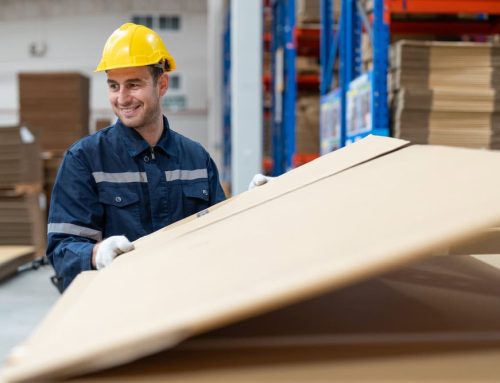
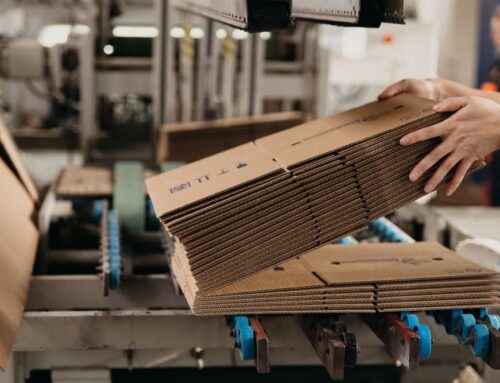
Printing/Finishing
After sending your files to the printing center, they’ll move forward with using a variety of tools to create dies specific to your boxes. This process can get easier if the printing facility has digital tools they can use to print the boxes.
Now you’ve reached the end and it’s time to print. Depending on the type of boxes you’ve selected, there will be a few more steps in the process, but the outcome is the same.
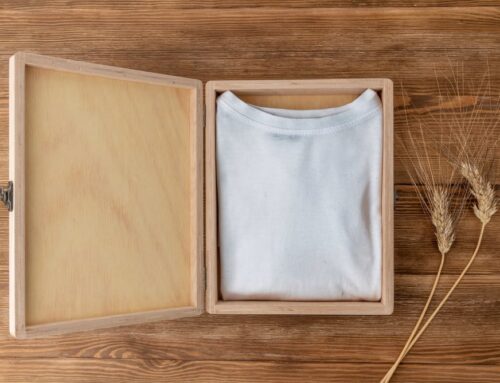
You’ll receive beautiful packaging to pack your products in and send to customers.
How Custom Boxes With a Logo Are Made
Custom boxes with a logo aren’t hard to make, but you do have to put effort into preparing for the process before things reach the printer. For example, you need to spend time looking over the artwork you submit and ensure it’s what you want on the finished product.
If you need help with your company boxes, contact Packaging Fullfillment Co Inc for more help.